Blood Orange Spring Layer Cake
Highlighted under: Spring Kitchen
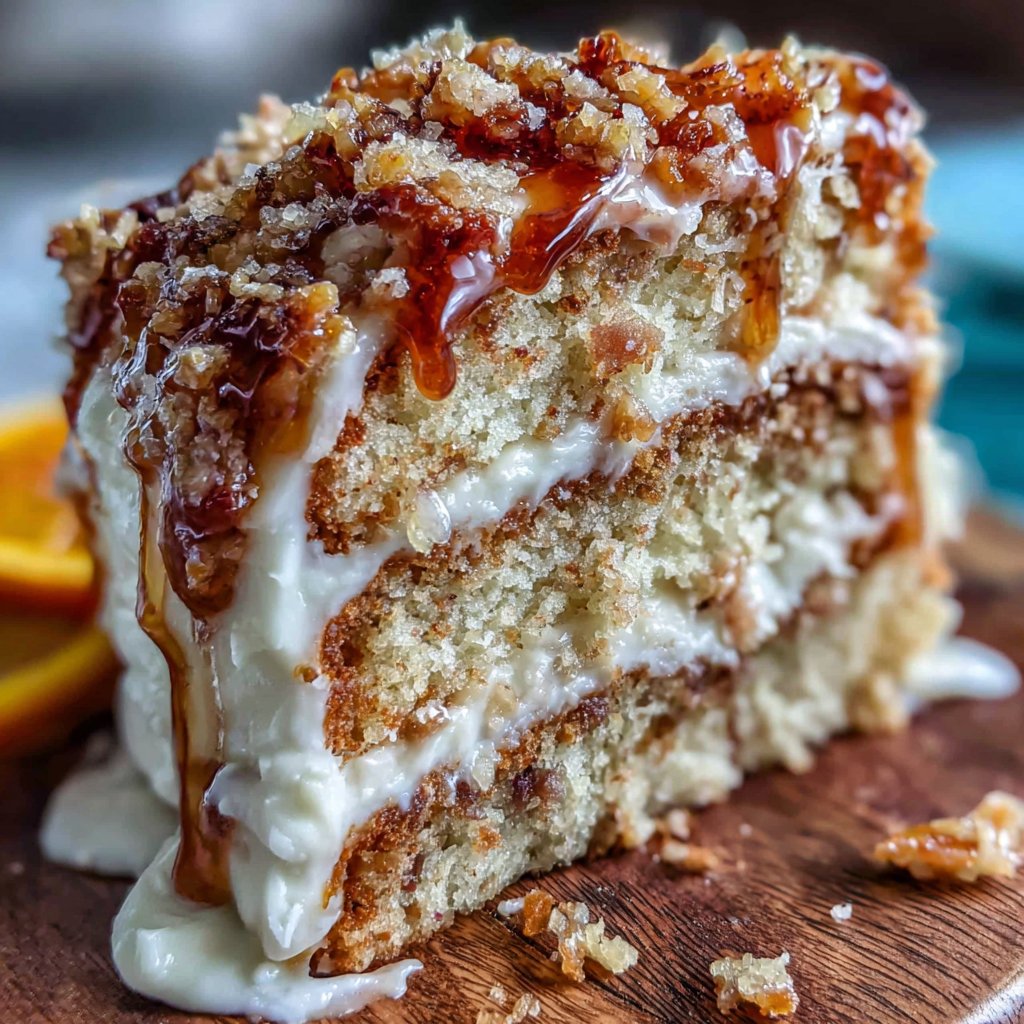
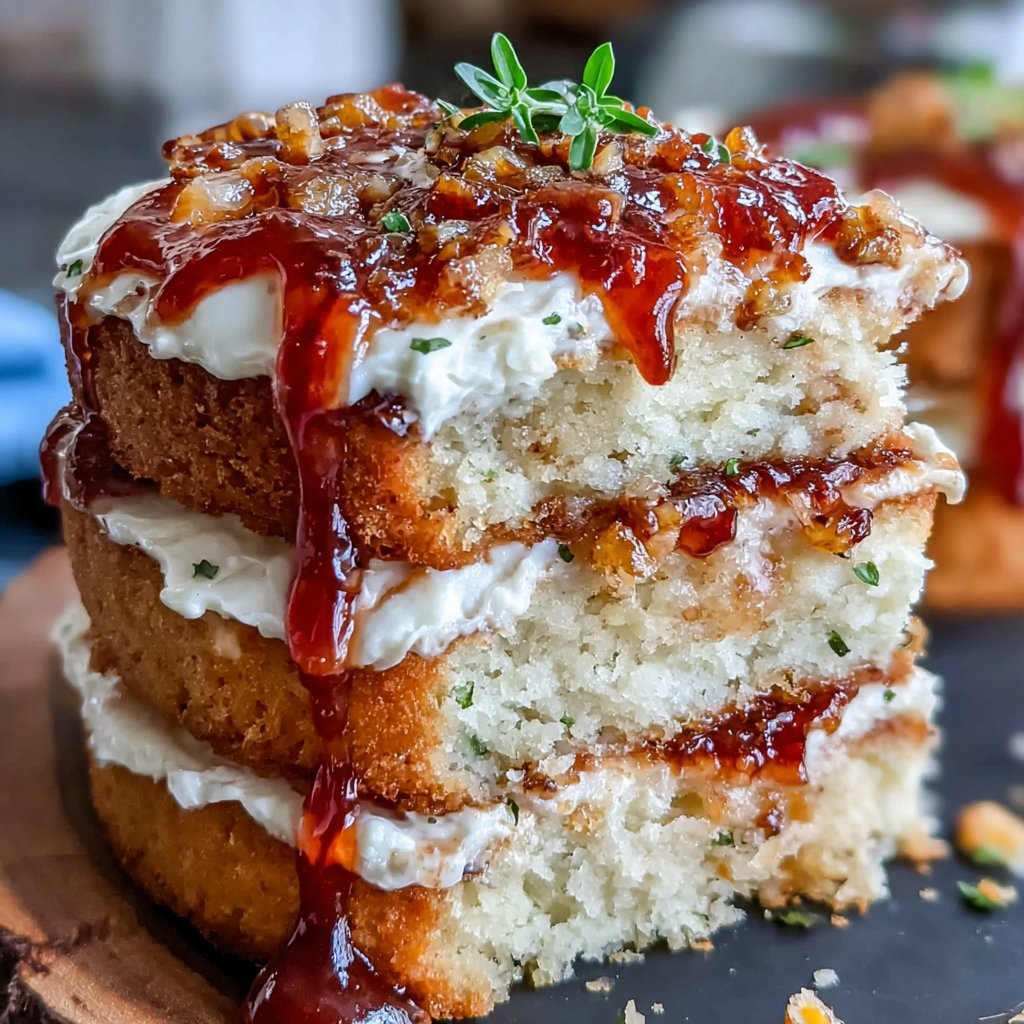
I absolutely love making this Blood Orange Spring Layer Cake as it beautifully celebrates the vibrant flavors of spring. The zesty blood orange adds a refreshing twist to the rich layers of cake, and I find it perfect for special occasions or simply to brighten up a weekday dessert. Each bite transports me to sunnier days, making it not just a treat for the senses but also a delightful experience to share with loved ones. Trust me, this cake is as fun to make as it is to eat!
When creating this Blood Orange Spring Layer Cake, I was drawn to the idea of celebrating the season's flavors in a unique way. The cake's bright color and citrusy notes make it visually stunning and deliciously refreshing. I opted for a classic vanilla cake base, infused with fresh blood orange juice and zest, which creates a beautiful balance with the sweet frosting.
While baking, I discovered that the key to keeping the cake moist is to not overmix the batter. Each layer is carefully leveled and stacked, creating a perfect balance of texture and flavor. Decorated with whipped cream and blood orange slices, this cake is sure to impress at any gathering!
Why You'll Love This Recipe
- Vibrant, fresh flavors that scream spring
- Beautiful layers that make for a stunning presentation
- Easy to customize with different citrus fruits if desired
Understanding the Essential Ingredients
In this Blood Orange Spring Layer Cake, the combination of fresh blood orange juice and zest is vital for achieving a bright, citrusy flavor that defines the cake. Blood oranges are not only aesthetically pleasing with their deep red hue but also offer a sweet yet slightly tangy profile that pairs beautifully with the richness of the cake. If you can’t find blood oranges, feel free to substitute with navel oranges or even lemons for a different, yet refreshing twist.
The use of unsalted butter is crucial in this recipe, as it allows you to control the salt content, ensuring a balanced flavor. Be sure to soften the butter to room temperature; this step is essential for achieving the light and fluffy texture in the batter. Cream the butter and sugar thoroughly until it appears pale and airy, which helps incorporate air into the mixture and contributes to a tender cake crumb.
Tips for Perfectly Frosted Layers
When preparing the frosting, using chilled heavy cream is key to creating stability in the whipped cream. Whipping the cream at a low speed initially helps prevent splattering; gradually increase the speed as the cream thickens. The goal is to whip until soft peaks form, then slowly add powdered sugar and vanilla. Continue to whip until stiff peaks form, ensuring the frosting holds its shape without being overly thick and difficult to spread.
While frosting, make sure each layer is cool to avoid melting the frosting. A good tip is to use a cake leveler or serrated knife to ensure the cake layers are even. This not only makes for a beautiful presentation but also allows for a more uniform distribution of frosting between the layers. You can layer the frosting to your preference; if you're feeling adventurous, consider adding zest or juice from the blood oranges right into the frosting for an extra citrusy burst.
Ingredients
Gather the following ingredients to make this delightful cake:
For the Cake
- 2 cups all-purpose flour
- 1 ½ cups granulated sugar
- ½ cup unsalted butter, softened
- 1 cup milk
- 3 large eggs
- 2 tsp baking powder
- 1 tsp vanilla extract
- 1 tbsp blood orange zest
- ½ cup fresh blood orange juice
For the Frosting
- 2 cups heavy whipping cream
- ½ cup powdered sugar
- 1 tsp vanilla extract
- Additional blood orange slices for decoration
Make sure all your ingredients are at room temperature for the best results!
Instructions
Follow these simple steps to assemble your cake:
Preheat the Oven
Preheat your oven to 350°F (175°C) and grease two 9-inch round cake pans.
Prepare the Batter
In a large bowl, cream together the softened butter and granulated sugar until light and fluffy. Add eggs one at a time, mixing well after each addition. Stir in the vanilla, blood orange zest, and juice.
Combine Dry Ingredients
In a separate bowl, whisk together the flour and baking powder. Gradually add the dry ingredients to the wet mixture, alternating with milk, starting and ending with the flour mixture, and mix just until combined.
Bake the Cakes
Divide the batter evenly between the prepared pans. Bake for 25 minutes or until a toothpick inserted in the center comes out clean.
Cool the Cakes
Allow the cakes to cool in the pans for 10 minutes before transferring them to wire racks to cool completely.
Prepare the Frosting
In a chilled bowl, whip the heavy cream until soft peaks form. Gradually add powdered sugar and vanilla, continuing to whip until stiff peaks form.
Assemble the Cake
Once the cakes are completely cool, place one layer on a serving plate. Spread a layer of frosting on top, then add the second cake layer. Frost the top and sides of the cake.
Decorate and Serve
Finish by decorating with blood orange slices on top. Slice, serve, and enjoy the refreshing flavors of this spring cake!
Enjoy making it and don’t forget to share with friends!
Pro Tips
- For a more intense flavor, let the frosted cake sit for a few hours in the fridge before serving to allow the flavors to meld together.
Make-Ahead and Storage Tips
This cake can be made in advance, which is perfect for busy occasions. The cake layers can store well in an airtight container at room temperature for up to two days or in the refrigerator for five days. For longer storage, freeze individual layers wrapped in plastic wrap and foil; they can last for up to three months. Be sure to let them come to room temperature before assembling and frosting to maintain moisture.
If preparing the frosting ahead of time, you can refrigerate it in an airtight container, but keep in mind whipped cream can deflate over time. To revive it, simply re-whip the cream until it reaches the desired consistency again. This way, you can prepare components in advance and enjoy the process of assembling the cake closer to serving time.
Serving Suggestions and Variations
For an added touch, serve the Blood Orange Spring Layer Cake with a drizzle of blood orange glaze or a dusting of powdered sugar for an elegant finish. Pairing it with fresh berries, such as strawberries or raspberries, enhances the springtime theme and provides a nice contrast of flavors. A scoop of citrus sorbet on the side can elevate the dessert, creating a lovely balance of textures and temperatures.
If you're looking to mix things up, consider adding a layer of light lemon curd or a berry compote between the cake layers. These additions not only enhance the flavors but also add a vibrant visual element to each slice. This recipe is also versatile; for a gluten-free version, substitute the all-purpose flour with a gluten-free baking blend, ensuring the texture and flavor remain delightful.
Questions About Recipes
→ Can I use other citrus fruits instead of blood orange?
Absolutely! This recipe works well with regular oranges, lemons, or even grapefruit.
→ How do I store leftovers?
Store any leftover cake in an airtight container in the refrigerator for up to 3 days.
→ Can I make this cake ahead of time?
Yes, you can bake the cakes a day in advance and assemble them the next day.
→ What can I do if my cake sinks in the middle?
This can happen if the batter is overmixed or if the oven temperature is incorrect. Make sure to mix just until combined and double-check your oven temperature.
Blood Orange Spring Layer Cake
Created by: The Chefnikskitchen Team
Recipe Type: Spring Kitchen
Skill Level: Intermediate
Final Quantity: 8 servings
What You'll Need
For the Cake
- 2 cups all-purpose flour
- 1 ½ cups granulated sugar
- ½ cup unsalted butter, softened
- 1 cup milk
- 3 large eggs
- 2 tsp baking powder
- 1 tsp vanilla extract
- 1 tbsp blood orange zest
- ½ cup fresh blood orange juice
For the Frosting
- 2 cups heavy whipping cream
- ½ cup powdered sugar
- 1 tsp vanilla extract
- Additional blood orange slices for decoration
How-To Steps
Preheat your oven to 350°F (175°C) and grease two 9-inch round cake pans.
In a large bowl, cream together the softened butter and granulated sugar until light and fluffy. Add eggs one at a time, mixing well after each addition. Stir in the vanilla, blood orange zest, and juice.
In a separate bowl, whisk together the flour and baking powder. Gradually add the dry ingredients to the wet mixture, alternating with milk, starting and ending with the flour mixture, and mix just until combined.
Divide the batter evenly between the prepared pans. Bake for 25 minutes or until a toothpick inserted in the center comes out clean.
Allow the cakes to cool in the pans for 10 minutes before transferring them to wire racks to cool completely.
In a chilled bowl, whip the heavy cream until soft peaks form. Gradually add powdered sugar and vanilla, continuing to whip until stiff peaks form.
Once the cakes are completely cool, place one layer on a serving plate. Spread a layer of frosting on top, then add the second cake layer. Frost the top and sides of the cake.
Finish by decorating with blood orange slices on top. Slice, serve, and enjoy the refreshing flavors of this spring cake!
Extra Tips
- For a more intense flavor, let the frosted cake sit for a few hours in the fridge before serving to allow the flavors to meld together.
Nutritional Breakdown (Per Serving)
- Calories: 380 kcal
- Total Fat: 26g
- Saturated Fat: 15g
- Cholesterol: 195mg
- Sodium: 85mg
- Total Carbohydrates: 32g
- Dietary Fiber: 3g
- Sugars: 24g
- Protein: 6g