Mini Chocolate Cream Tarts
Highlighted under: Home Baking
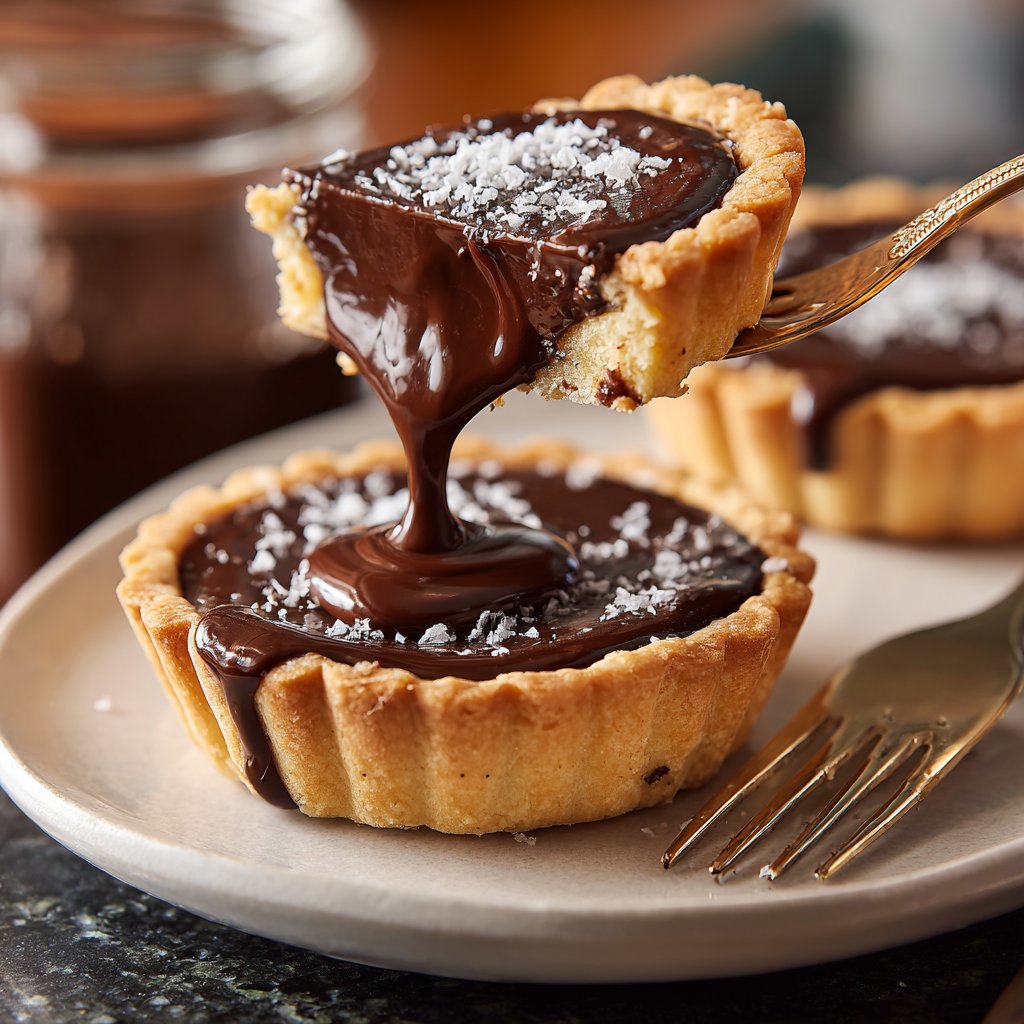
I absolutely love making these Mini Chocolate Cream Tarts for special occasions. The rich, chocolatey filling paired with a buttery crust creates a delightful treat that everyone enjoys. I always find that the smaller size makes them perfect for parties as they are easy to serve and eat. Plus, I can prepare them ahead of time, ensuring that when guests arrive, I get to spend more time with them and less time in the kitchen. Trust me, these tarts are a crowd-pleaser!
When I first made these Mini Chocolate Cream Tarts, I was amazed at how effortlessly they come together. The combination of a crispy crust with velvety chocolate filling creates a rich dessert that's hard to resist. I often use a mix of semi-sweet and dark chocolate for the filling, as it lends a balanced sweetness and depth of flavor that truly stands out.
One key tip that I've discovered is to chill the tarts in the fridge for at least an hour before serving. This not only helps the filling set perfectly but also enhances the flavors, making each bite even more satisfying. These tarts have quickly become a favorite in my family, and I'm sure they will be in yours too!
Why You'll Love This Recipe
- Rich chocolate flavor paired with fresh orange zest
- Creamy texture that melts in your mouth
- Perfect for celebrations or as a sweet indulgence
Understanding the Tart Crust
The tart crust is the foundation of these Mini Chocolate Cream Tarts, providing both flavor and texture. When mixing flour, butter, and powdered sugar, ensure you don’t overwork the dough; aim for a crumbly texture that holds together when pressed. This will lead to a tender crust that doesn’t become tough. When pressing the dough into the tart pan, be mindful of maintaining even thickness, as uneven areas may bake differently, leading to inconsistent textures.
Chilling the formed crust is a crucial step, as it helps prevent shrinkage during baking. If you notice the edges of your crust puffing up while baking, use a fork to gently press them back down immediately after taking them out of the oven. Once cooled, the crust should be crisp and lightly golden. To elevate the flavor, consider adding a pinch of salt or a dash of vanilla extract to the dough.
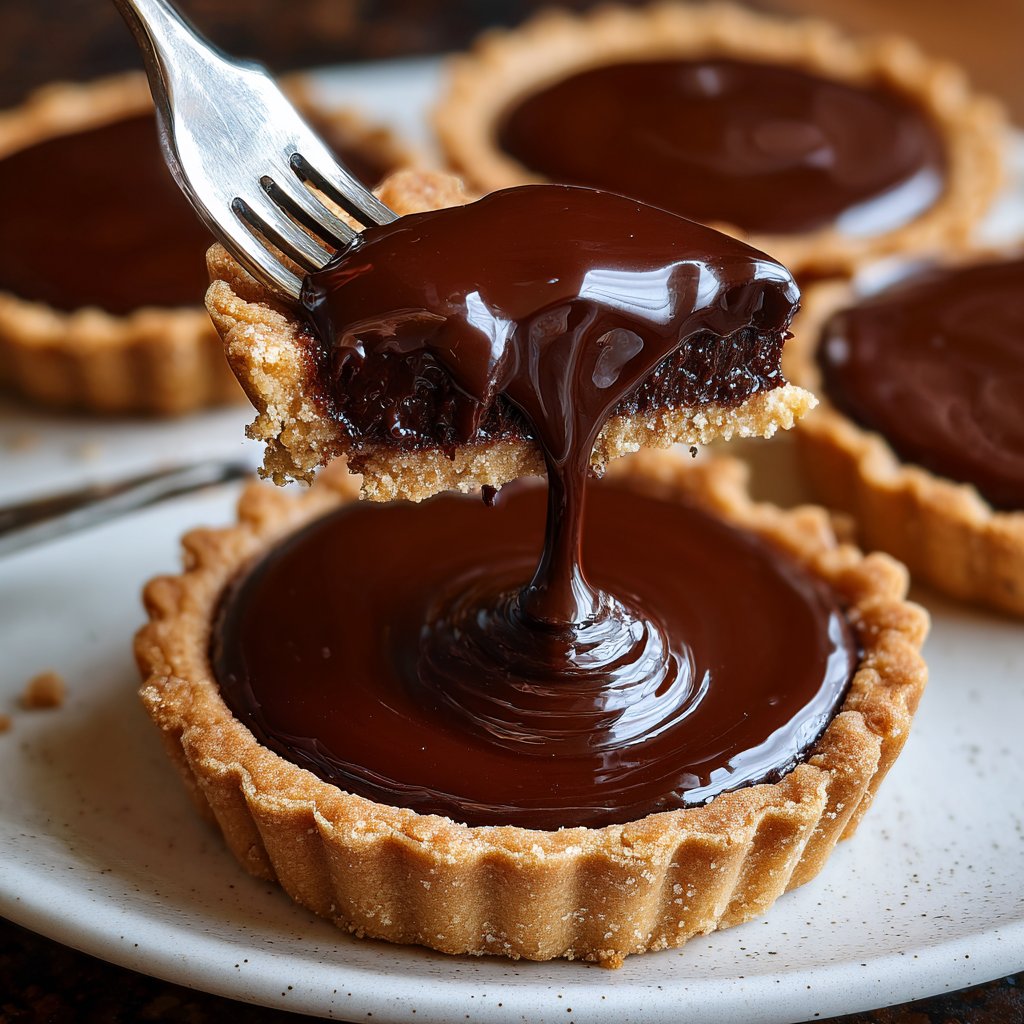
Perfecting the Chocolate Cream Filling
The chocolate cream filling is the star of the show, so using high-quality semi-sweet chocolate makes a remarkable difference in flavor and texture. Look for chocolate that contains at least 60% cocoa for a well-balanced richness. When melting the chocolate with the cream, be careful not to overheat the mixture; it should be steaming but not boiling. If you see bubbles, reduce the heat to prevent the chocolate from seizing up, which can create a gritty filling that won't set properly.
After incorporating the chocolate, allow the filling to rest for a few minutes; this helps it thicken slightly, making it easier to pour into the tart shells without seeping through or overflowing. If you plan to add flavors like coffee or liqueurs, do so at this stage, but keep in mind that less is more; these additions should enhance rather than overpower the chocolate.
Serving and Storage Tips
To serve the tarts, try letting them sit at room temperature for about 10 minutes after coming out of the refrigerator. This allows the creamy filling to soften just enough, enhancing the overall mouthfeel. When garnishing, use fresh berries, which add a burst of freshness and contrast beautifully with the rich chocolate flavor. Whipped cream can also be flavored with a hint of orange zest, echoing the filling notes and adding brightness to the dish.
For make-ahead convenience, you can prepare the crust and filling a day in advance. Store the baked crusts in an airtight container at room temperature, and keep the chocolate cream filling in the fridge until ready to assemble. However, avoid freezing these tarts after assembling, as the texture of the chocolate cream can be compromised. Instead, enjoy them fresh for the best experience!
Ingredients
Gather all necessary ingredients before starting.
For the Tart Crust
- 1 ½ cups all-purpose flour
- ½ cup unsalted butter, softened
- ¼ cup powdered sugar
- 1 large egg yolk
- 1 tablespoon cold water
For the Chocolate Cream Filling
- 1 cup heavy cream
- 8 ounces semi-sweet chocolate, chopped
- 2 tablespoons sugar
- 1 teaspoon vanilla extract
- Pinch of salt
For Garnishing
- Whipped cream
- Chocolate shavings
- Fresh berries
Ensure all ingredients are fresh for the best results.
Instructions
Follow these steps carefully for perfect tarts.
Prepare the Tart Crust
Preheat your oven to 350°F (175°C). In a mixing bowl, combine the flour, butter, and powdered sugar. Mix until crumbly. Add the egg yolk and cold water, then mix until a dough forms. Roll out the dough and press it into a tart pan. Prick the bottom with a fork and chill in the refrigerator for 15 minutes.
Bake the Tart Shells
Bake the chilled tart shells for 15-20 minutes until golden brown. Let them cool completely on a wire rack.
Make the Chocolate Cream Filling
In a saucepan, heat the heavy cream over medium heat until it begins to steam. Remove from heat and add chopped chocolate, sugar, vanilla extract, and salt. Stir until the chocolate is completely melted and smooth.
Fill the Tarts
Pour the chocolate cream filling into the cooled tart shells, smoothing the tops. Refrigerate for at least 1 hour to set.
Garnish and Serve
Once set, garnish with whipped cream, chocolate shavings, and fresh berries before serving.
Enjoy the rich flavors of your homemade tarts!
Pro Tips
- For an extra flavor twist, consider adding a splash of orange liqueur to the chocolate filling. This enhances the chocolate's richness and adds a beautiful citrus note that complements the dessert perfectly.
Ingredient Substitutions
If you're looking for a gluten-free option, you can substitute the all-purpose flour with a 1:1 gluten-free baking blend. Ensure that the blend contains xanthan gum or similar for the best texture in your crust. For a dairy-free chocolate cream filling, try using coconut cream and dairy-free chocolate. Each variation will give a distinct flavor and texture, so don't hesitate to test what works best for your needs.
For a richer flavor profile, consider incorporating a tablespoon of espresso powder into the chocolate filling. This heightens the chocolate taste without making the filling taste like coffee. Alternatively, switching the semi-sweet chocolate for dark chocolate will yield a more intense flavor that pairs exceptionally well with the sweetness of the crust.
Troubleshooting Common Issues
If your tart crust is too crumbly to hold its shape, it may need a bit more moisture. Adding a teaspoon of cold water at a time can help bind the mixture. Conversely, if the dough feels sticky, dust your work surface with flour while rolling it out. Remember that every flour behaves differently based on humidity and brand, so adjustments may be necessary.
Sometimes the chocolate filling may not set properly, resulting in a runny texture. This can happen if the chocolate wasn’t melted correctly, or if the cream cooled too much before mixing. To salvage it, gently reheating the mixture over low heat and whisking it again can bring the texture back; just make sure it carefully cools before pouring into the tart shells again.
Questions About Recipes
→ Can I make the tart crust in advance?
Yes, you can prepare the crust ahead of time and store it in the refrigerator for up to two days.
→ What can I use instead of heavy cream?
You can substitute heavy cream with coconut cream for a dairy-free option.
→ How long do these tarts last in the fridge?
The tarts can last up to 3 days in the refrigerator if stored properly.
→ Can I freeze the chocolate cream tarts?
It's best to consume them fresh, but if needed, you can freeze the unfilled tart shells for up to a month.
Mini Chocolate Cream Tarts
Created by: The Chefnikskitchen Team
Recipe Type: Home Baking
Skill Level: Intermediate
Final Quantity: 12 tarts
What You'll Need
For the Tart Crust
- 1 ½ cups all-purpose flour
- ½ cup unsalted butter, softened
- ¼ cup powdered sugar
- 1 large egg yolk
- 1 tablespoon cold water
For the Chocolate Cream Filling
- 1 cup heavy cream
- 8 ounces semi-sweet chocolate, chopped
- 2 tablespoons sugar
- 1 teaspoon vanilla extract
- Pinch of salt
For Garnishing
- Whipped cream
- Chocolate shavings
- Fresh berries
How-To Steps
Preheat your oven to 350°F (175°C). In a mixing bowl, combine the flour, butter, and powdered sugar. Mix until crumbly. Add the egg yolk and cold water, then mix until a dough forms. Roll out the dough and press it into a tart pan. Prick the bottom with a fork and chill in the refrigerator for 15 minutes.
Bake the chilled tart shells for 15-20 minutes until golden brown. Let them cool completely on a wire rack.
In a saucepan, heat the heavy cream over medium heat until it begins to steam. Remove from heat and add chopped chocolate, sugar, vanilla extract, and salt. Stir until the chocolate is completely melted and smooth.
Pour the chocolate cream filling into the cooled tart shells, smoothing the tops. Refrigerate for at least 1 hour to set.
Once set, garnish with whipped cream, chocolate shavings, and fresh berries before serving.
Extra Tips
- For an extra flavor twist, consider adding a splash of orange liqueur to the chocolate filling. This enhances the chocolate's richness and adds a beautiful citrus note that complements the dessert perfectly.
Nutritional Breakdown (Per Serving)
- Calories: 250 kcal
- Total Fat: 18g
- Saturated Fat: 10g
- Cholesterol: 60mg
- Sodium: 75mg
- Total Carbohydrates: 20g
- Dietary Fiber: 2g
- Sugars: 8g
- Protein: 3g