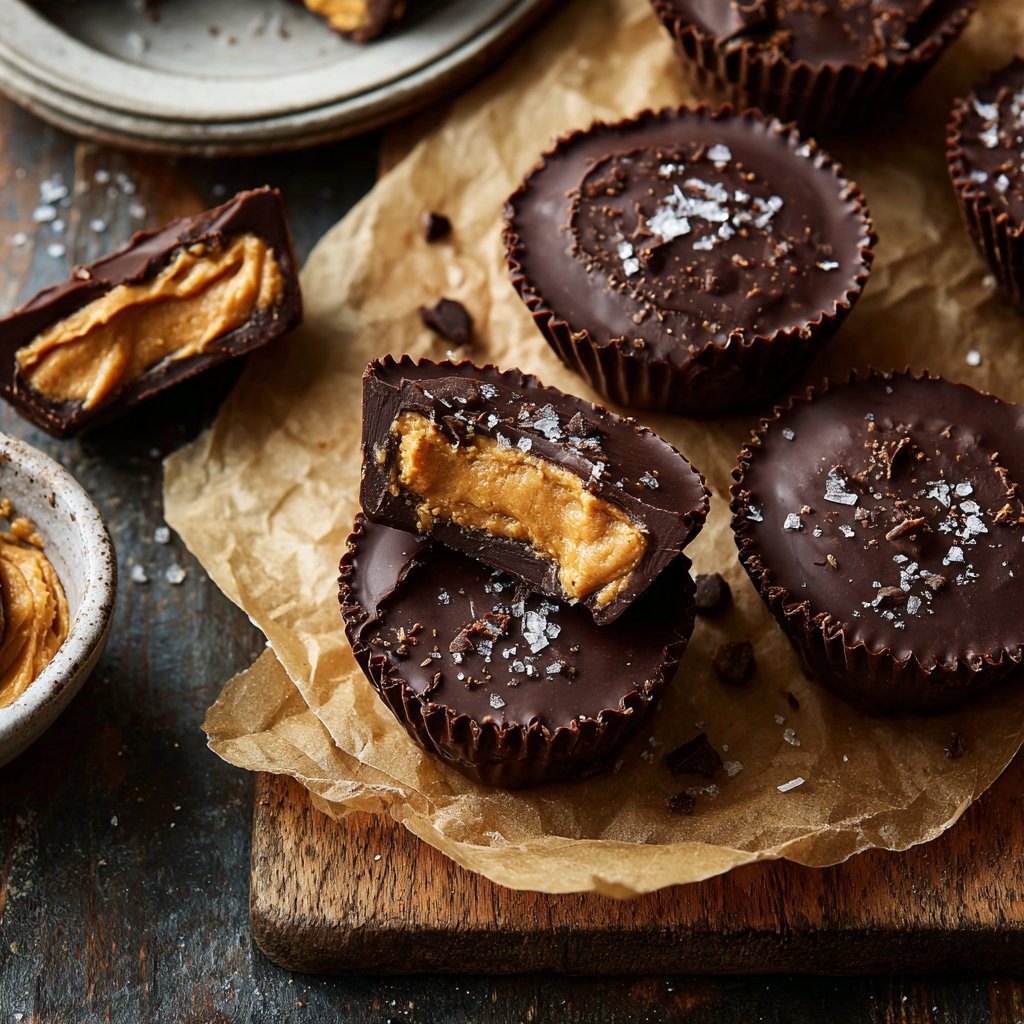
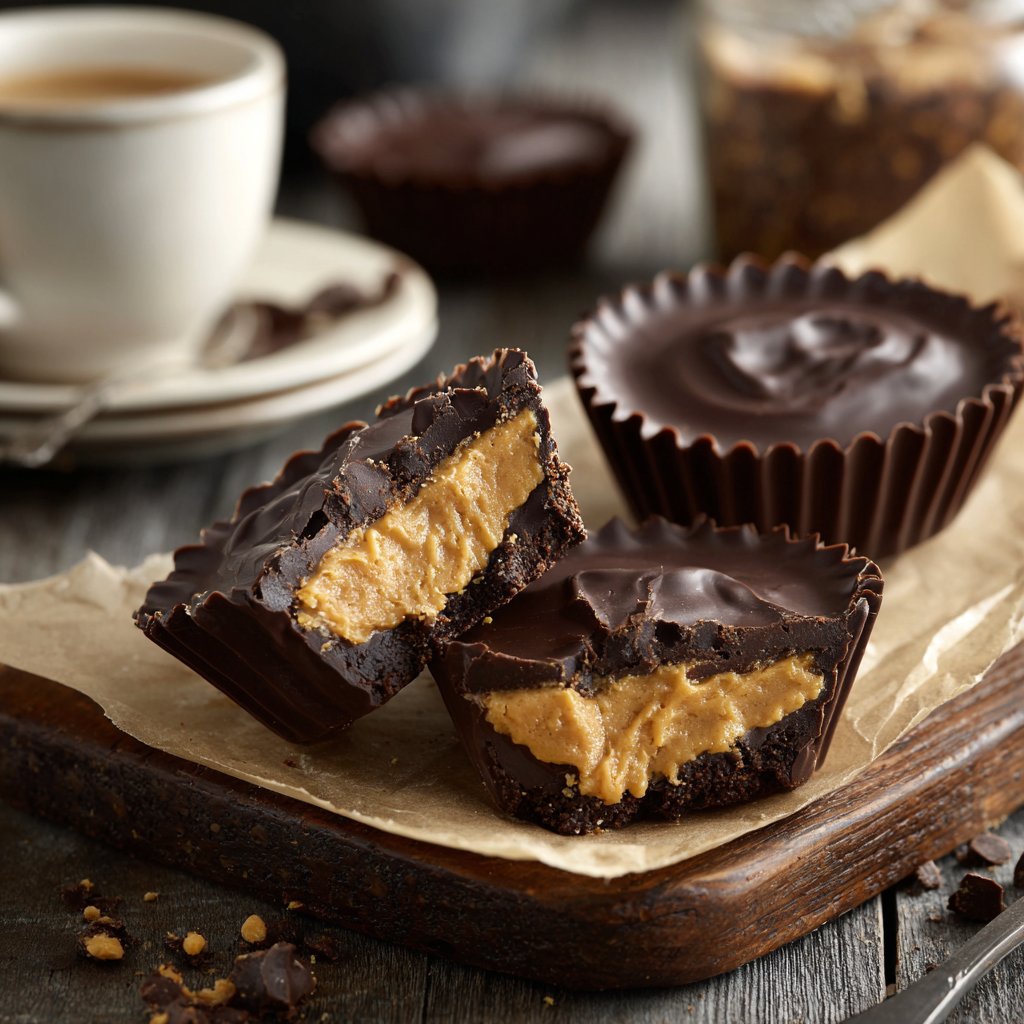
Vegan Peanut Butter Cups
Highlighted under: Home Baking
I absolutely love making these Vegan Peanut Butter Cups! The combination of rich dark chocolate and creamy peanut butter is genuinely satisfying. Each cup is a delightful bite of goodness that can easily satisfy any sweet tooth without compromising my dietary choices. Plus, they come together in no time and make for a fantastic homemade gift! I'm excited to share this simple yet delicious recipe that anyone can enjoy, whether vegan or not.
When I first experimented with making Vegan Peanut Butter Cups, I was surprised by how easy it was to recreate that beloved flavor without any dairy. The combination of maple syrup with peanut butter creates a smooth filling that balances perfectly with the rich chocolate coating. Each step is simple, ensuring that this treat is both approachable and delightful!
One tip I found incredibly helpful was to let the chocolate slightly cool before pouring it over the peanut butter mixture. This prevents it from melting the filling prematurely, preserving that perfect layer of deliciousness. Trying this method made all the difference in achieving beautiful layers that everyone will enjoy!
Why You'll Love These Vegan Peanut Butter Cups
- Indulgent, rich chocolate flavor with a creamy peanut butter filling
- Simple ingredients that come together quickly and easily
- Perfect for sharing or satisfying your own sweet cravings
Expert Tips for Perfect Peanut Butter Cups
To achieve the perfect creamy texture for your peanut butter filling, use high-quality, natural peanut butter without hydrogenated oils. The texture of peanut butter varies widely, so stick to brands with minimal ingredients. If the peanut butter is too thick, you may add a little more maple syrup or a splash of plant-based milk to loosen it up. Aim for a consistency that can easily be spooned into the chocolate cups without being too runny.
When melting the chocolate, consider using a double boiler for more control over heat. This method helps prevent the chocolate from seizing or burning, which can easily happen in the microwave if you’re not careful. Stirring frequently will keep it uniform; you want it glossy and smooth when it’s ready for assembly.
Storage and Shelf Life
Once your Vegan Peanut Butter Cups are prepared, they can be stored in an airtight container in the refrigerator for up to two weeks. To maintain freshness and flavor, make sure they are thoroughly cooled before sealing them in. If you want to keep them longer, consider freezing them. Place layers of parchment paper between the cups in a freezer-safe container to prevent them from sticking together.
Freezing is particularly useful if you plan on making a larger batch. They can last up to three months in the freezer. To enjoy them after freezing, simply let them sit at room temperature for about 10-15 minutes, or microwave them for a few seconds, being careful not to overheat the chocolate coating.
Variations to Customize Your Treats
Feel free to customize the peanut butter filling by adding ingredients like crushed nuts or a sprinkle of cinnamon for added depth. You could also try using almond butter or sunflower seed butter if you want to experiment with flavors or cater to allergy restrictions. Keep the ratios the same to maintain the right consistency.
For a twist on presentation, consider adding a sprinkle of sea salt on the chocolate layer right before they chill. This small touch enhances taste and adds a lovely contrast to your sweet treats, making each bite even more satisfying. You can also experiment with flavored chocolate by adding extracts like peppermint or orange to the melted chocolate for a unique twist.
Ingredients
For the Peanut Butter Filling
- 1 cup natural peanut butter
- 1/4 cup maple syrup
- 1/2 teaspoon vanilla extract
- Pinch of salt
For the Chocolate Coating
- 1 cup dairy-free dark chocolate chips
- 1 tablespoon coconut oil
Instructions
Prepare the Peanut Butter Filling
In a mixing bowl, combine the peanut butter, maple syrup, vanilla extract, and salt. Stir until well mixed and creamy. Set aside.
Melt the Chocolate
In a microwave-safe bowl, combine the dark chocolate chips and coconut oil. Heat in 30-second intervals, stirring in between until the chocolate is fully melted and smooth.
Assemble the Cups
Line a muffin tin with cupcake liners. Pour a small amount of melted chocolate into each liner, just enough to cover the bottom. Place the pan in the freezer for about 5 minutes to set the chocolate.
Add Peanut Butter Filling
Once the chocolate has set, remove the pan from the freezer and spoon the peanut butter filling into each cup, filling them about 3/4 of the way full.
Finish with Chocolate
Pour more melted chocolate on top of the peanut butter filling until each cup is completely covered. Return to the freezer for about 20 minutes or until the cups are firm.
Enjoy
Peel the cups from the liners and enjoy your delicious Vegan Peanut Butter Cups! Store leftovers in an airtight container in the fridge.
Pro Tips
- For an extra touch, consider sprinkling a small pinch of flaky sea salt on top of the chocolate before it sets for a delightful sweet and salty contrast.
Avoiding Common Pitfalls
One of the most common issues when making these cups is chocolate seizing up while melting. This can occur if moisture makes its way into the bowl or if it’s heated too quickly. To avoid this, ensure the bowl and utensils are completely dry, and use the microwave carefully, pausing every 30 seconds to stir until melted.
Another problem can arise with the consistency of the filling. If you find your peanut butter mixture is too stiff, it might lead to difficult molding in the chocolate cups. As a remedy, warming the peanut butter slightly in the microwave (just 10-15 seconds) can help achieve a smoother, more manageable texture for filling.
Serving Suggestions
These Vegan Peanut Butter Cups can be served as a delightful addition to dessert platters at parties or gatherings. For an impressive display, arrange them on a decorative plate and garnish with fresh fruit or a drizzle of melted vegan chocolate.
If you’re looking to take them to a potluck, consider pairing them with a dairy-free ice cream for a decadent dessert combo. Cut them in half to reveal the gorgeous layers inside—this not only enhances the visual appeal but also makes it easier to share!
Questions About Recipes
→ Can I use other nut butters?
Absolutely! Almond butter or cashew butter would work well as alternatives.
→ How do I store leftovers?
Store them in an airtight container in the refrigerator for up to one week.
→ Is this recipe gluten-free?
Yes, as long as you use gluten-free chocolate chips, this recipe is gluten-free!
→ Can I make these ahead of time?
Yes, you can prepare them in advance, and they stay fresh in the fridge for a week or can be frozen for longer storage.
Vegan Peanut Butter Cups
Created by: The Chefnikskitchen Team
Recipe Type: Home Baking
Skill Level: Beginner
Final Quantity: 12 cups
What You'll Need
For the Peanut Butter Filling
- 1 cup natural peanut butter
- 1/4 cup maple syrup
- 1/2 teaspoon vanilla extract
- Pinch of salt
For the Chocolate Coating
- 1 cup dairy-free dark chocolate chips
- 1 tablespoon coconut oil
How-To Steps
In a mixing bowl, combine the peanut butter, maple syrup, vanilla extract, and salt. Stir until well mixed and creamy. Set aside.
In a microwave-safe bowl, combine the dark chocolate chips and coconut oil. Heat in 30-second intervals, stirring in between until the chocolate is fully melted and smooth.
Line a muffin tin with cupcake liners. Pour a small amount of melted chocolate into each liner, just enough to cover the bottom. Place the pan in the freezer for about 5 minutes to set the chocolate.
Once the chocolate has set, remove the pan from the freezer and spoon the peanut butter filling into each cup, filling them about 3/4 of the way full.
Pour more melted chocolate on top of the peanut butter filling until each cup is completely covered. Return to the freezer for about 20 minutes or until the cups are firm.
Peel the cups from the liners and enjoy your delicious Vegan Peanut Butter Cups! Store leftovers in an airtight container in the fridge.
Extra Tips
- For an extra touch, consider sprinkling a small pinch of flaky sea salt on top of the chocolate before it sets for a delightful sweet and salty contrast.
Nutritional Breakdown (Per Serving)
- Calories: 120 kcal
- Total Fat: 9g
- Saturated Fat: 3g
- Cholesterol: 0mg
- Sodium: 5mg
- Total Carbohydrates: 10g
- Dietary Fiber: 1g
- Sugars: 4g
- Protein: 3g